
The question every Japan trip starts with: “Do I still need a lot of cash? Will cards work everywhere?”
Plain answer: use credit cards + a transit IC (Suica and friends) as your main stack, and keep cash as backup—never rely on only one method. This guide shows how to split the work by scene, and what “ready” looks like before you land.
Do these 4 things before you fly
- At least one Visa/Mastercard with overseas transactions enabled (ideally two cards from different banks)
- Set up Welcome Suica on iPhone and test a small top-up
- Exchange or withdraw a little yen cash (tiny shops, vending machines, emergency buffer)
- Treat PayPay and other QR payments as “try only when you see the logo”—visitors cannot always link successfully
You’re ready when: before leaving home you confirmed overseas card use is on; on day one in Japan you can buy a drink with a card, tap through a gate with IC, and pay cash for a coffee.
Official sites and references
- GO TOKYO: IC cards
- Japan National Tourism Organization (JNTO)
- Suica guide
- Tax-free shopping
- Japan eSIM
How the three payment methods split the work
| Method | Best for | Weaker for |
|---|---|---|
| Credit card | Hotels, department stores, drugstores, chain restaurants, car rental | Stalls, old-school eateries, some vending machines |
| Suica / transit IC | Trains and buses, konbini, vending machines, small taps | Large purchases, shops without IC stickers |
| Cash | Backup, cash-only shops, coin machines | Carrying large amounts (loss risk) |
Remember the slogan: card for large, IC for small, cash as the floor.
Credit cards: when to swipe, when not to force it
- Before departure, enable overseas use by phone or bank app, and save the lost-card hotline.
- Prefer chip + contactless (Visa/Mastercard); JCB is also common in Japan.
- At checkout, follow the terminal: insert chip or tap; a few places still want a signature.
- If declined: try the other card, or switch to cash/IC—don’t argue with staff about the machine.
On larger drugstore or department-store purchases, ask about tax-free at the same time (see the tax-free guide).
Stuck: bank fraud filter blocked overseas use, limit too low, or the shop only takes Japanese domestic cards. A second card matters.
Suica / transit IC: more than just trains
Konbini, many vending machines, and some restaurants accept taps. Full setup steps: Suica guide.
- Low balance can trap you at the exit gate—charge machines usually sit beside the gates.
- Don’t rely on IC for large shopping; hotels and tax-free still lean on credit cards.
- Pick either a physical card or phone card as your daily driver—avoid entering with A and trying to exit with B.
Stuck: no IC sticker but you want to tap → look for credit-card logos or pay cash.
PayPay: logos everywhere—how visitors actually pay
Many shops show a PayPay logo, but linking a Taiwanese number or overseas card is hit-or-miss. Practical approach:
- Logo present and you already paid successfully once → fine to use
- Couldn’t link / scan failed → switch to card or cash; don’t bet the itinerary on PayPay
- Short independent trips: card + Suica + cash is usually enough—don’t force PayPay setup
Where cash still matters
- Small eateries, market stalls, festival booths
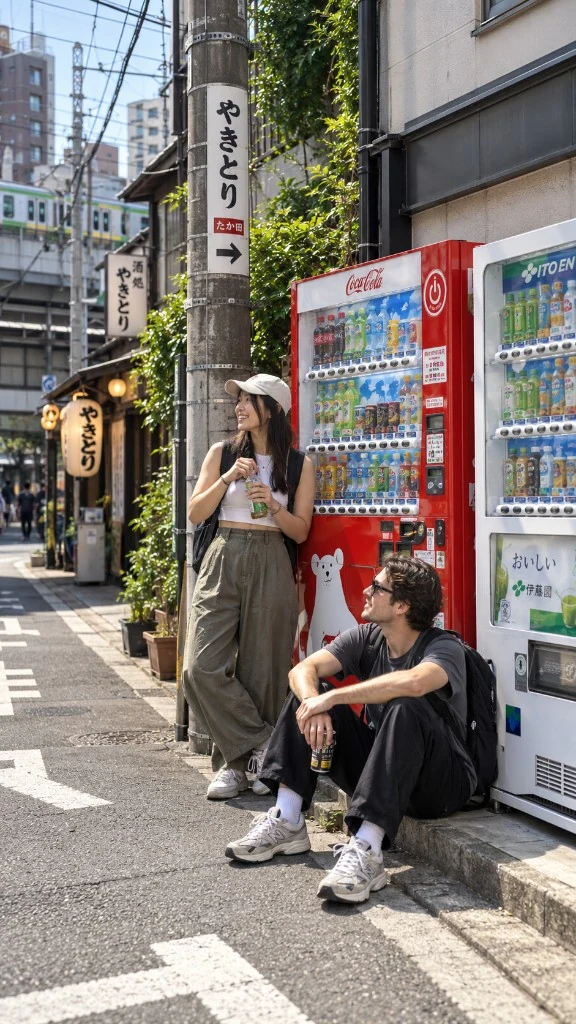
- Some vending machines and coin lockers
- Shrine offerings and goshuin-related payments (often cash)
- Remote onsen towns and cash-only minshuku
Keep a few ¥100 and ¥10 coins in your pocket—vending machines and lockers are happier that way.
How much cash to carry: exchange and ATMs
- Short trips (3–5 days, Tokyo/Osaka): many people carry about ¥10,000–¥30,000 as floating cash and lean on cards + IC for the rest (adjust to your habits).
- Onsen / countryside / festival chasing: raise the cash share, or plan ATM top-ups.
- Exchange a little at home; withdraw more at airport or konbini ATMs after arrival.
ATM practice:
- Find machines that accept overseas cards (common: 7-Eleven / Seven Bank, Japan Post).
- Choose yen withdrawal.
- If asked about store conversion (DCC), usually pick no / charge in your card’s currency via the issuer.
- Keep receipts; if the limit is too low, split withdrawals or try another machine.
Stuck: can’t withdraw → try another ATM brand, confirm overseas cash withdrawal is enabled, try the second card; if still blocked, ride on existing cash and cards while you contact the bank.
Quick scene guide
| Scene | First choice | Backup |
|---|---|---|
| Subway / trains | Suica | Single ticket |
| Convenience store | IC or card | Cash |
| Drugstore / department store | Credit card (ask tax-free) | Cash |
| Small ramen shop | Ask the shop; often cash or IC | Card |
| Onsen-town snacks | Cash | Card if accepted |
| Hotel | Credit card | Cash (rare) |
| Taxi | Check door stickers; increasingly cashless | Cash |
Pre-trip checklist
- Two cards with overseas use on; know limits and lost-card lines
- Suica issued and topped up with a small amount
- Yen cash in your wallet (not all in one pocket)
- Bank app can receive push/SMS alerts
- Backup data: Japan eSIM (ATMs, maps, and bank apps all need a network)
Day-one smoke test
- Buy a drink or konbini snack with a credit card and confirm it posts.
- Tap through a gate (or a bus) with Suica.
- Buy once from a vending machine or snack stall with cash and check change works smoothly.
If all three work, you almost never get stuck later because you “can’t pay.”
Remember one line: card for large, IC for small, cash as the floor. Testing each once on day one beats carrying a pile of theory.